SALE!

Decoupage for Beginners

We get so many questions about some of the key basics of decoupage, we thought it would be the best to collate the most important steps and key ingredients that tend to be used in decoupage. We will discuss the basic ingredients and tools in the order of the most basic technique, so it is clear what is used for what. We will also include any tips and hints that can make our work so much easier and more enjoyable. So let’s get to work!

Step 1) Priming

PRIMER: is a base paint, most often light coloured: white, or off white, such as cream, or light beige. This is necessary mainly because the napkins that we will glue on tend to be very thin layers, even slightly see through, and so the designs are most visible, when our background colour is light colour.
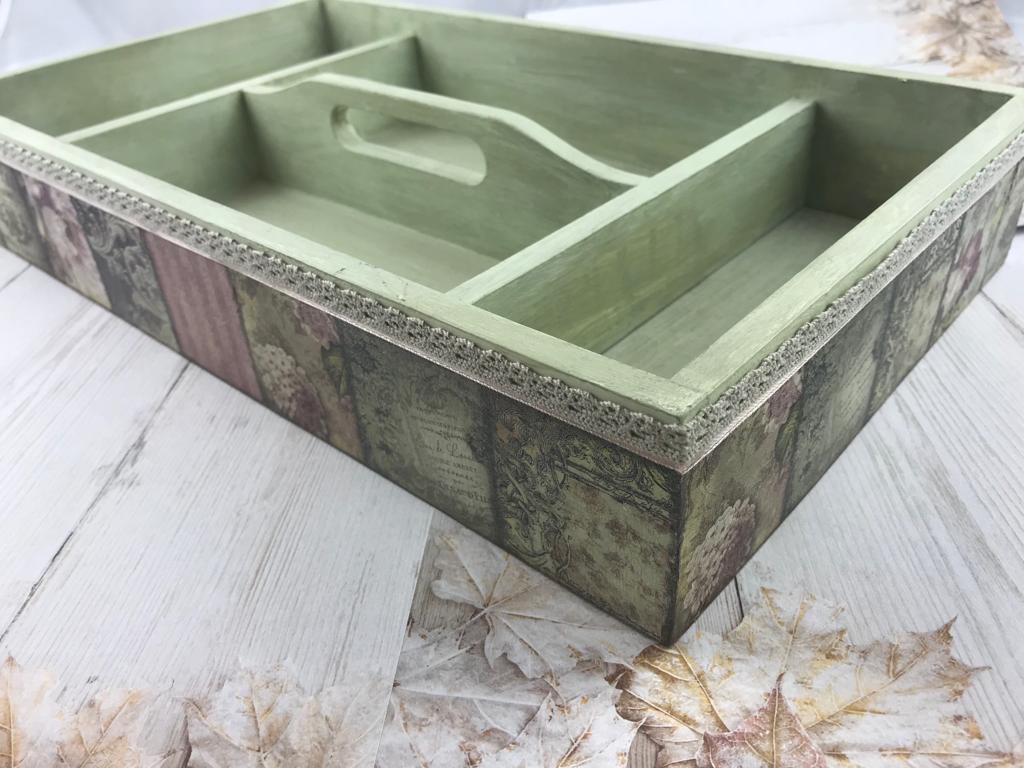
Decoupage tray
Decoupaged tray

ACRYLIC PAINT: is a water based paint. It is fairly quick-drying, and even though the paint itself is water-soluble whilst still in liquid form, it becomes water-resistant once it is dry. This is the most widely used base paint, as it is very easy to work with.

Certain materials will require using a primer more than others. It depends on what material the base project is. Glass, metal, plastic, tiles, or varnished surfaces will all benefit from using primer first. Otherwise using acrylic paint first directly, the paint will likely just slide on the surface, but not cover it evenly, and it may need 2-3 layers of acrylic paint for a full coverage. Primer in these cases are highly recommended first, so we can start with a nice and even coverage, then if the background colour needs to be different acrylic paint can follow.

Step 2) Paper types

NAPKIN PAPERS: Usually 3 layers of very very thin, almost translucent papers, the same as we normally use for eating, but in decoupage we use all sorts of funky design ones. Only the top layer is to be used in decoupage. Very delicate to be working with, it may tear easily. It may come in different sizes. Adapts well to different surfaces.

RICE PAPERS: Not made of rice, but made of plant based starch and fibres, i.e. tree bark. Comes in different sizes and thickness. Easy to be working with, sticks well to any surface, flat, or textured. Thicker than napkin papers, but thinner than decoupage papers. Strong, durable and resistant, despite the fact it can be quite thin.

DECOUPAGE PAPERS: Very easy to work with, it won’t crinkle or crease easily. Probably the thickest of all three, although it does come in different sizes and thickness too. Durable, yet very flexible to we working with, can be applied on any surface.
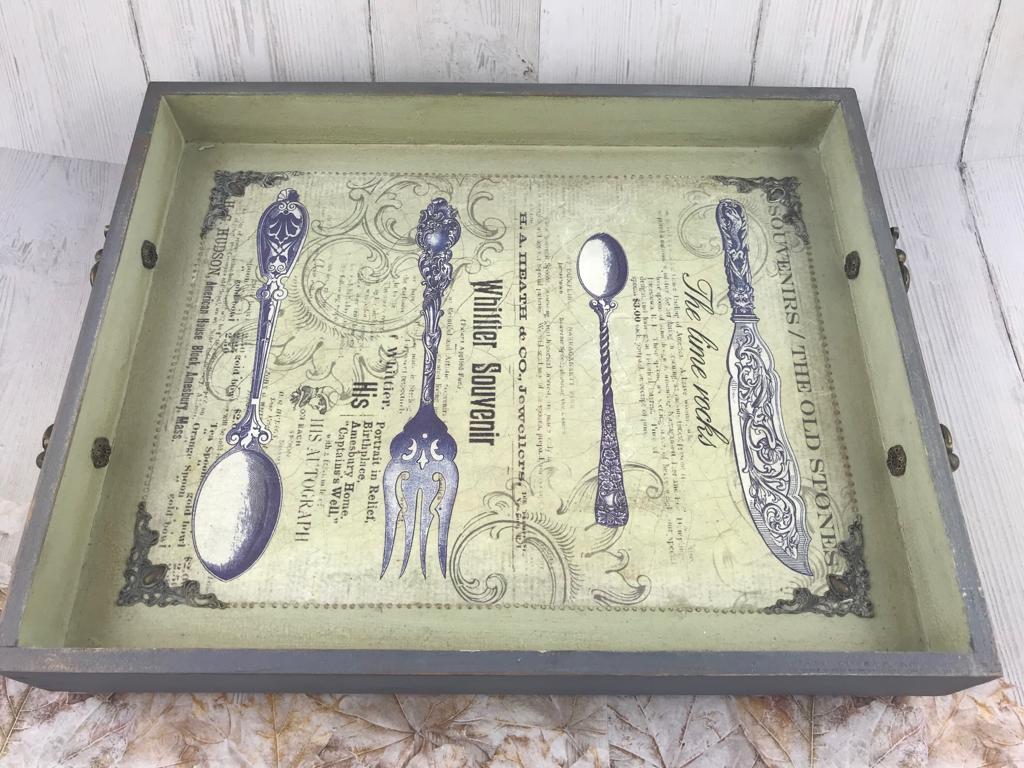
Decoupaged tray
Decoupaged tray

Step 3) Applying the design on

This is the fun bit! The design can now be applied on top of the base layer. Our napkins tend to be 3 layered, that will need to be separated. Sometimes it can be a bit challenging because they are so thin, but with patience they will separate nicely.

Once we have the single layer with the design on, the specific part of the design will need to be cut out from the whole napkin. There are two techniques for this:

  • we may use scissors, this will leave a sharp edge around the design, but can work quite precisely
  • we may tear it by hand. The edges will look a lot more natural, and it will be easier to work it onto the craft project without visible edges, but we may risk tearing into the picture if not careful enough
Decoupage projects
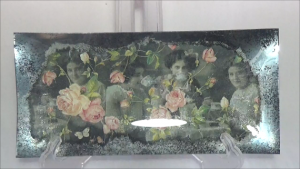
Decoupaged tray & stand

Step 4) Applying the glue

DECOUPAGE GLUE: Always use special decoupage glue, not just any glue. The ones we recommend are two-in-one: glue and varnish. This can be applied under the napkin to act as glue, as well as on top of the design to act as a varnish. These tend to be matte.

The glue can be applied on the project by using either a brush or a sponge.

If it is a relatively small surface, or round (e.g. a Christmas bauble, or an easter egg), then just apply the glue fresh, stick the design on, and apply another layer of this glue-and-varnish on top of the design to finish it off nicely.
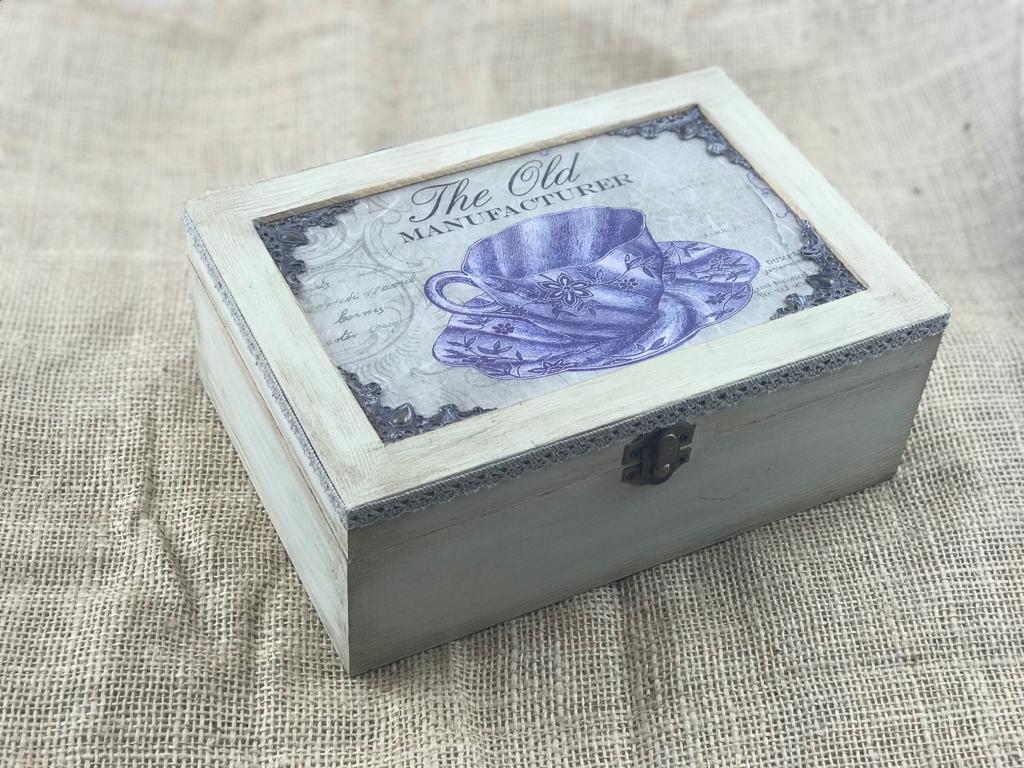
Decoupage box
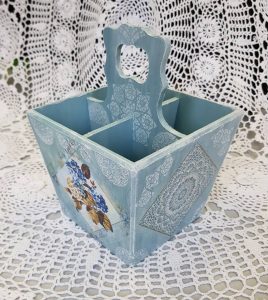
Decoupaged wooden box

If it is a larger flat surface, the thin napkin layer might tear easily or crease whilst placing it into the fresh glue. The best way to avoid this problem, is to apply the glue as normal, but this time let it dry first. Once dried, place the design on the dried glue, then put another layer of baking paper on top of the design, then using a low heat iron, we can literally iron the design onto the glue. The low heat of the iron will melt the glue slightly, just enough to catch on the napkin. The edges, and any creases can be smoothed out nicely. Make sure the iron doesn’t get too hot, as it may discolour the project brown, or even burn it.

Please note, the glue becomes water resistant once it is dry.

Step 5) Applying the finish

VARNISH: This is the final layer that will protect the surface of our craft project. This needs to be a good quality varnish so it lasts long term. The glue can often be used as the outer layer, but depending on what the item is, and how much wear and tear it may need to endure, sometimes it is recommended to use an actual finishing varnish instead of just the glue itself. The glue may leave a slightly stickier surface, difficult to clean.

In terms of the final look, there are matte, glossy, & satin effect varnishes available. The finishing varnish can also be water based, or solvent based. The solvent based version will of course have a stronger smell to it, so it is advised to work with the windows open, otherwise the smell will linger around for a long time, until it completely dries.
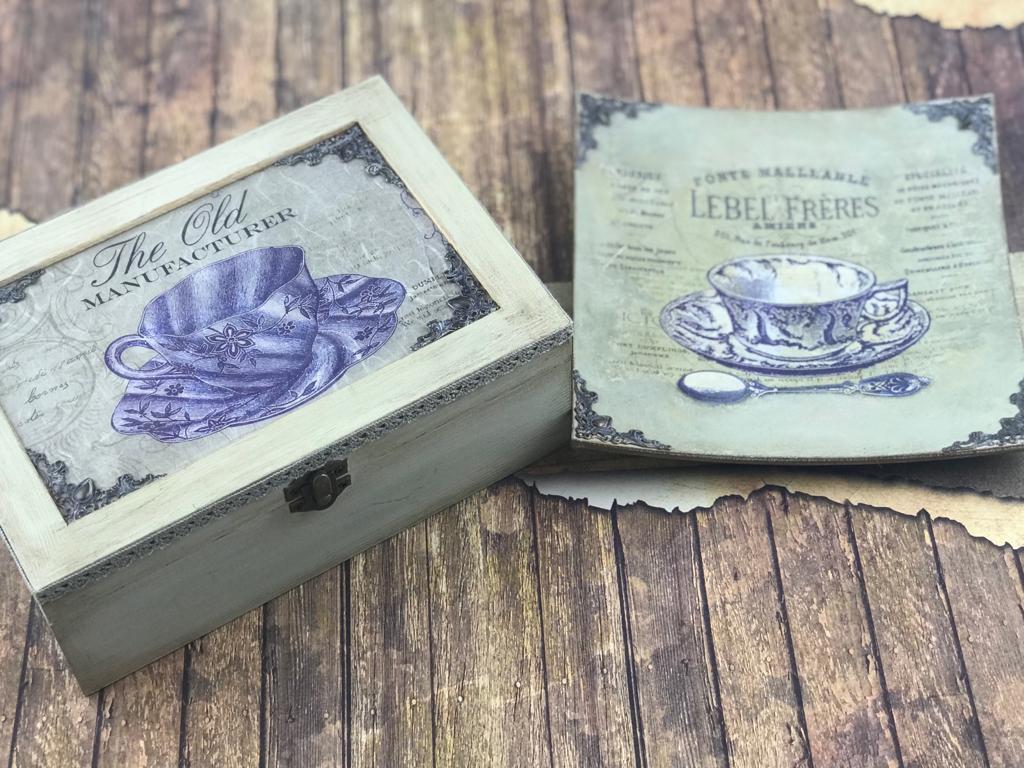
Decoupaged crafts
Decoupaged crafts

Most of these paints & glues become water resistant once dried, it is therefore highly recommended to always take care of our tools, and wash every brush & sponge out thoroughly as soon as we have finished working with them. It is great to be able to use the brushes & sponges again and again, not having to buy new tools for every project.

Here are few useful videos to demonstrate the basics of decoupage:
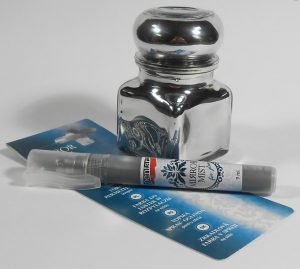
What is the Mirror Mist?

Mirror Mist 4 e1562519071519

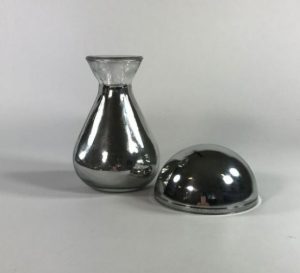
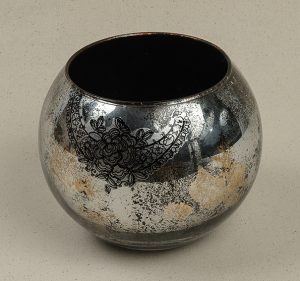
With the help of the mirror mist , we can create perfectly reflective surfaces – like a mirror – on any smooth, and transparent surfaces like a glass, or Clarity Acrylic Pieces of any shape – be it straight, flat, structured, or rounded like christmas tree ornaments.

There are two types of mirror mists, one of them is intended for glass, the other one is for plastic surfaces only. It is important not to mix the two types and use each of them on the appropriate and transparent surfaces.

Mirror Mist1 e1562514654745
Mirror Mist on glass

How to use the Mirror Mists?

Always shake up the container, with the paint thoroughly before each use.

As it is a mist, there will be a spray head included to be screwed tightly on top of the container.

Once the paint is prepared, the surface may also require few basic steps, such as cleaning the glass surface with alcohol, to remove any grease residue, or the removal of any protective plastic layers from the Clarity Acrylic pieces.

Spray several layers of the mirror mist on the relevant surfaces, these can be repeated after each layer is fully dried, so the coverage is thorough and dense enough. The drying process can be speeded up using a hair dryer, and we will see the paint becoming shinier and the reflections clearer as it dries.

Mirror Mist2 e1562513871826
Mirror Mist on glass and plastic surfaces

Once we have finished with the layering and the drying of the Mirror Mist, we can add one layer of black acrylic paint on top of the Mirror Mist layer – so the reflective effect is enhanced even more.

For a semi gloss effect, we can also apply a Semi Gloss Varnish Mist at the end.

The Mirror Mist can also be used with Stencil technique, to achieve the reflective surface showing only on certain patterns.

Mirror Mist 3

Alternatively, it can also be used with standard decoupage technique, if we are only applying the Mirror Mist as very thin, and partial coverage. Partial reflections will still shine through on the front side, once we have applied napkin tissue, or rice paper one the back of the item.

All in all, the Mirror Mist is a great material and technique to add variety, creativity and a new edge to our decoupage crafts! Take a look at the 3 products below, and a great little video below for some visual guidance, further ideas, and to demonstrate how to use the Mirror Mists !

What is a stencil?

Stencil9

Stencil, or stencil plate is a sheet of waterproof material – most often plastic, but can also be paper, cardboard, rubber, metal, or wood – of which, certain patterns or designs are cut out from.

Once the sheet is laid flat on the surface of the item we wish to decorate, using acrylic paint, paint spray, or different pastes, to pain over. The colour or paste will pass through the perforations, leaving the desired patterns behind, after carefully removing the stencil plate.

As stencils can me made from a number of different materials, they also vary in their thickness. From simple thin, paper based stencils using paint, creating flat surfaces, to thicker stencils using thicker pastes, that will create 3D effect patterns that stick out from the surface.

Stencil 3d 2

Apart from the actual material, and thickness of the stencil plate itself, it is also possible to transfer the designs on a variety of different materials, such as, wood, paper, metal, wall, and even textile. Here is a great example and wonderful design on textile.

A great advantage of stencils, is that the plates can be reused on the same surface to extend on the repeating patterns, for example as a lace pattern would repeat itself. It can of course also be reused endlessly from time to time on different craft projects, as long as the plates are kept clean after every use, and the patterns remain intact.

Stencil on

The number of pre-cut stencil patterns and designs available is simply staggering. Thus, are proud to have an impressive variety available here at NapkinShop to browse from, for those who like to use this technique, or are fairly new to. However, with plenty of time and patience, and quite a bit of handicraft, it is also possible to create own designs. Using some sort of resilient & fairly transparent sheet, the desired design can be drawn over, and the accurately cut out with a sharp blade.

Here is a Youtube video, demonstrating the stencil technique, whilst up-cycling an old kitchen furniture. (Try adding on subtitles under the cog icon, in the bottom right-hand corner of the video)

The Crackle Medium

In this article, we will show you how to use this fantastic product from Pentart, what effects you can achieve, and other tricks and creative ideas to bring the most out of the technique.

With the crackle medium, we can achieve old & fantastic aged effects, of crackled paint on old objects & paintings, and the look as if the paint is about to peel away from the object.

In order to be able to start playing with the colours and different effects, first we need to understand how this works. The Crackle Medium is basically applied between two different colours of acrylic paint layers. We will need a base layer & this will be the colour of the crackles. Once the base layer has dried, we can apply the crackle medium. When the Crackle medium has also dried, we can then apply our top layer of a different colour. You will notice, as the top layer is drying, it activates the crackle medium. The cracks will start to create during the final drying stage & become more and more defined on the surface, showing the bottom layer’s colour, in the cracks.

Crackled decoupaged bowl
Crackled effect bowl

The patterns of the cracks will depends on two factors; first, the thickness of each layer (the thicker the layers are, the larger the cracks will become), and second, the method used, to apply the paint layers. This can be either classic straight brush strokes, to create more organised, “parallel” cracks. Alternatively, sponge brush can also be used for applying the top layer, and that will create effect of more “messy” cracks.

It is important to note, the top layer should not be Metal, Pearl, or Chameleon effect paints, as these paints do not produce any spectacular cracks. Another key point to consider is also, when applying decoupage on top of the cracked surface, the top layes should always be of lighter tones (white, cream, beige, pastel colours, etc). This, in fact, is a general rule in decoupage, that due to the thin, and almost see-through nature of the napkin layers that we apply to any surface, the images only show clearly on lighter tone backgrounds. Dark-toned backgrounds, simply do not work well with decoupage, as they absorb the colours of a fine layer of papernapkin.

When decoupaging glass product with the crackled medium, the order of the layers do change however! The decopage image needs to go on first, once that’s dry, the Crackle medium can be applied. When the crackle medium is also dry, the top layer needs to be applied next, which will start the crackling effect as soon as these start drying. The final layer should be the bottom layer in this case, for the colour of the cracks. Take a look some beauiful and creative solutions in the videos below:

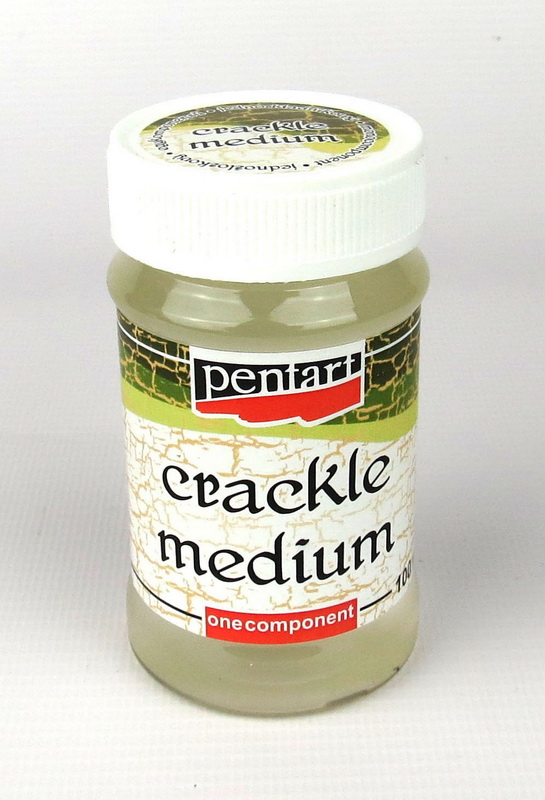
pentart crackle medium one component 100ml
Home
Account
Cart
Search
Menu
0
    0
    Your Cart
    Your cart is emptyReturn to Shop