Tag: Effect Medium
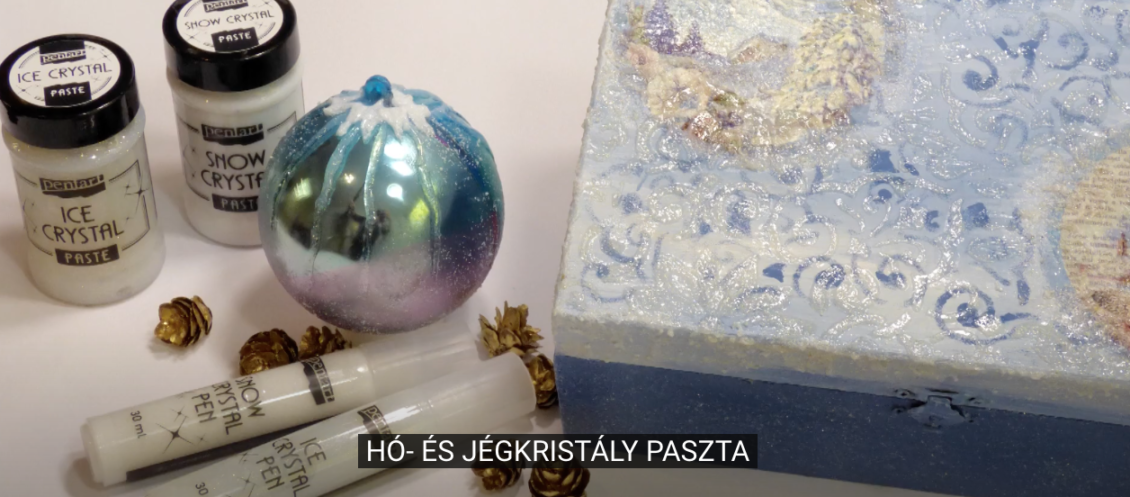
Winter effect mediums:
Our new Winter effect mediums can be varied very well with each other for an icy + snowy effect on any christmassy décor such as baubles, Christmas cards, Christmas trays, glass surfaces, or tableware. Apart form wintery effects, they also look lovely and elegant on wedding accessories, such as wedding cards, or can also be added as extra glittery / shiny textures on any decoupaged surface.
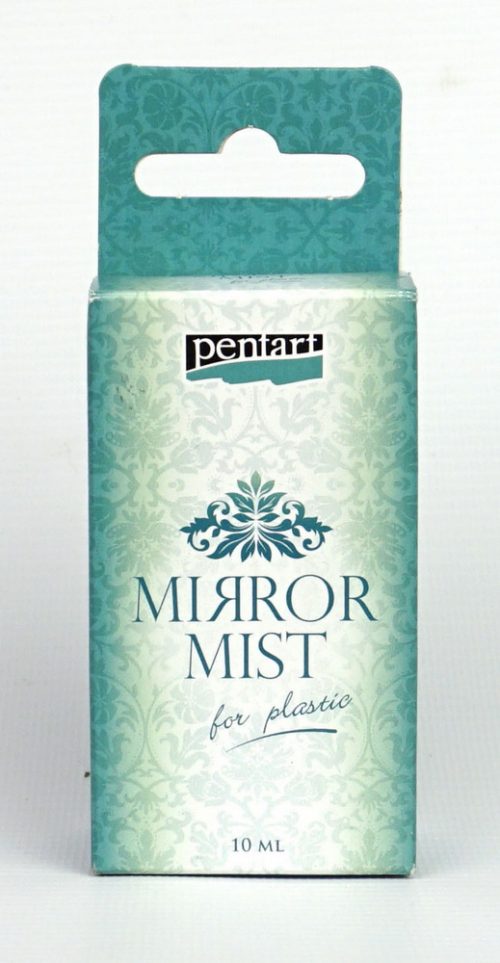
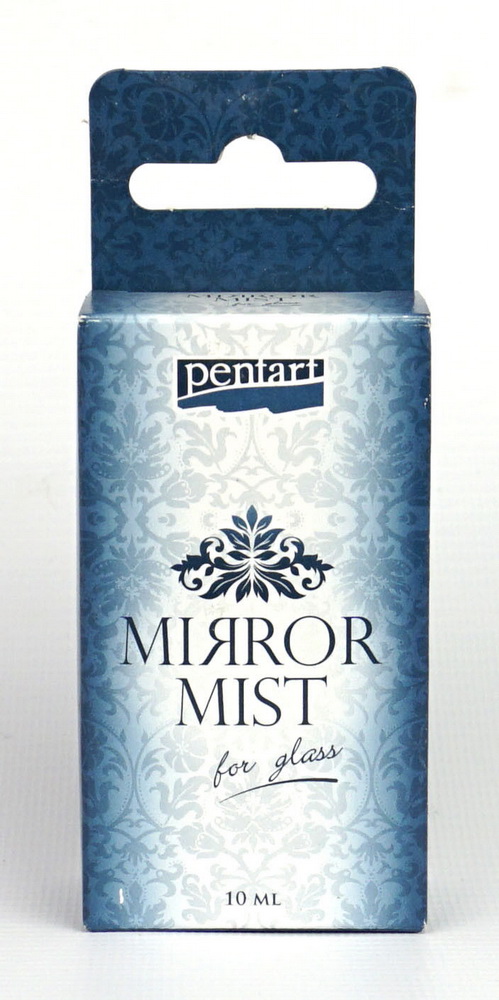
What is the Mirror Mist?
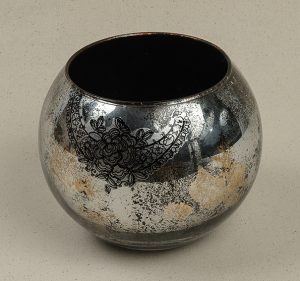
With the help of the mirror mist , we can create perfectly reflective surfaces – like a mirror – on any smooth, and transparent surfaces like a glass, or Clarity Acrylic Pieces of any shape – be it straight, flat, structured, or rounded like christmas tree ornaments.
There are two types of mirror mists, one of them is intended for glass, the other one is for plastic surfaces only. It is important not to mix the two types and use each of them on the appropriate and transparent surfaces.
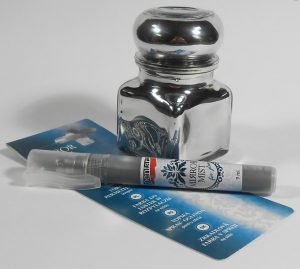
How to use the Mirror Mists?
Always shake up the container, with the paint thoroughly before each use.
As it is a mist, there will be a spray head included to be screwed tightly on top of the container.
Once the paint is prepared, the surface may also require few basic steps, such as cleaning the glass surface with alcohol, to remove any grease residue, or the removal of any protective plastic layers from the Clarity Acrylic pieces.
Spray several layers of the mirror mist on the relevant surfaces, these can be repeated after each layer is fully dried, so the coverage is thorough and dense enough. The drying process can be speeded up using a hair dryer, and we will see the paint becoming shinier and the reflections clearer as it dries.
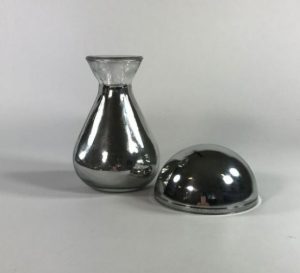
Once we have finished with the layering and the drying of the Mirror Mist, we can add one layer of black acrylic paint on top of the Mirror Mist layer – so the reflective effect is enhanced even more.
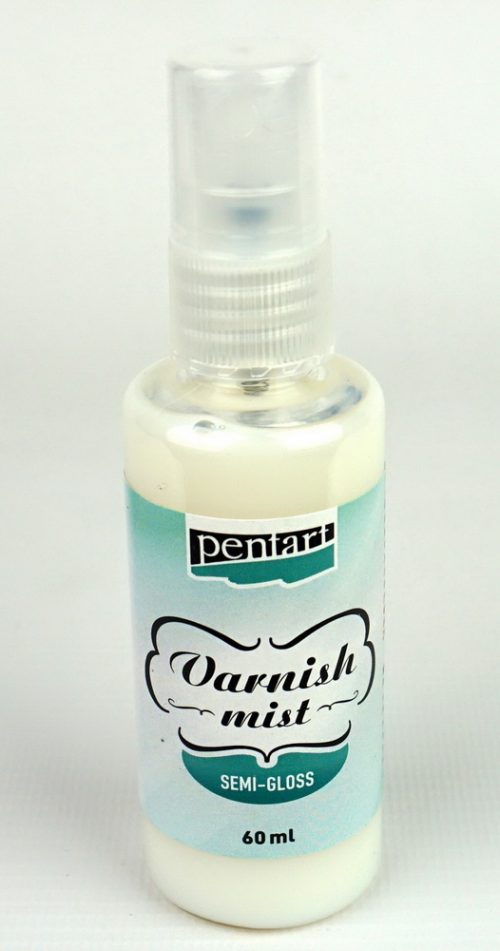
For a semi gloss effect, we can also apply a Semi Gloss Varnish Mist at the end.
The Mirror Mist can also be used with Stencil technique, to achieve the reflective surface showing only on certain patterns.
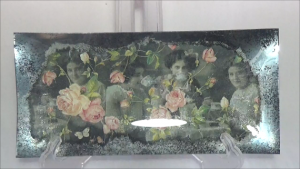
Alternatively, it can also be used with standard decoupage technique, if we are only applying the Mirror Mist as very thin, and partial coverage. Partial reflections will still shine through on the front side, once we have applied napkin tissue, or rice paper one the back of the item.
All in all, the Mirror Mist is a great material and technique to add variety, creativity and a new edge to our decoupage crafts! Take a look at the 3 products below, and a great little video below for some visual guidance, further ideas, and to demonstrate how to use the Mirror Mists !
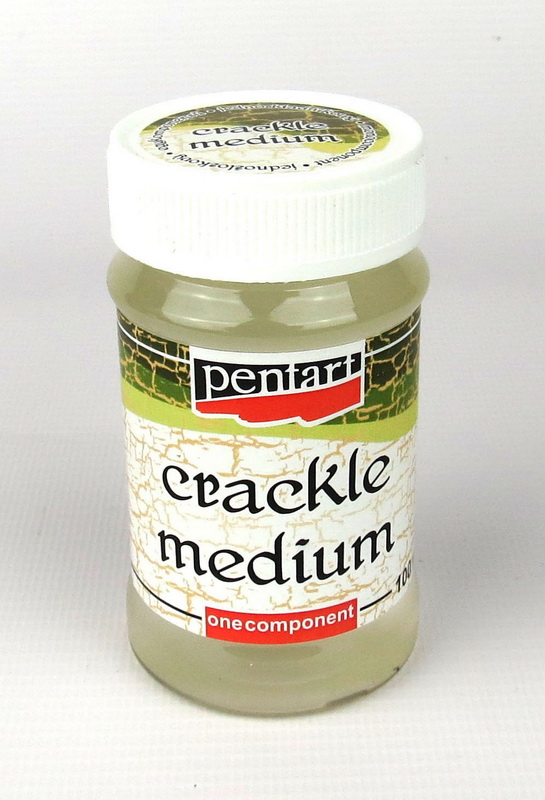
The Crackle Medium
In this article, we will show you how to use this fantastic product from Pentart, what effects you can achieve, and other tricks and creative ideas to bring the most out of the technique.
With the crackle medium, we can achieve old & fantastic aged effects, of crackled paint on old objects & paintings, and the look as if the paint is about to peel away from the object.
In order to be able to start playing with the colours and different effects, first we need to understand how this works. The Crackle Medium is basically applied between two different colours of acrylic paint layers. We will need a base layer & this will be the colour of the crackles. Once the base layer has dried, we can apply the crackle medium. When the Crackle medium has also dried, we can then apply our top layer of a different colour. You will notice, as the top layer is drying, it activates the crackle medium. The cracks will start to create during the final drying stage & become more and more defined on the surface, showing the bottom layer’s colour, in the cracks.
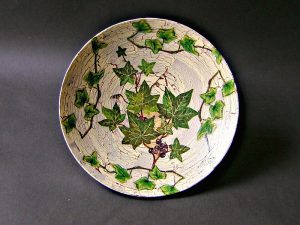
The patterns of the cracks will depends on two factors; first, the thickness of each layer (the thicker the layers are, the larger the cracks will become), and second, the method used, to apply the paint layers. This can be either classic straight brush strokes, to create more organised, “parallel” cracks. Alternatively, sponge brush can also be used for applying the top layer, and that will create effect of more “messy” cracks.
It is important to note, the top layer should not be Metal, Pearl, or Chameleon effect paints, as these paints do not produce any spectacular cracks. Another key point to consider is also, when applying decoupage on top of the cracked surface, the top layes should always be of lighter tones (white, cream, beige, pastel colours, etc). This, in fact, is a general rule in decoupage, that due to the thin, and almost see-through nature of the napkin layers that we apply to any surface, the images only show clearly on lighter tone backgrounds. Dark-toned backgrounds, simply do not work well with decoupage, as they absorb the colours of a fine layer of papernapkin.
When decoupaging glass product with the crackled medium, the order of the layers do change however! The decopage image needs to go on first, once that’s dry, the Crackle medium can be applied. When the crackle medium is also dry, the top layer needs to be applied next, which will start the crackling effect as soon as these start drying. The final layer should be the bottom layer in this case, for the colour of the cracks. Take a look some beauiful and creative solutions in the videos below:
