Author: Petra Szicso
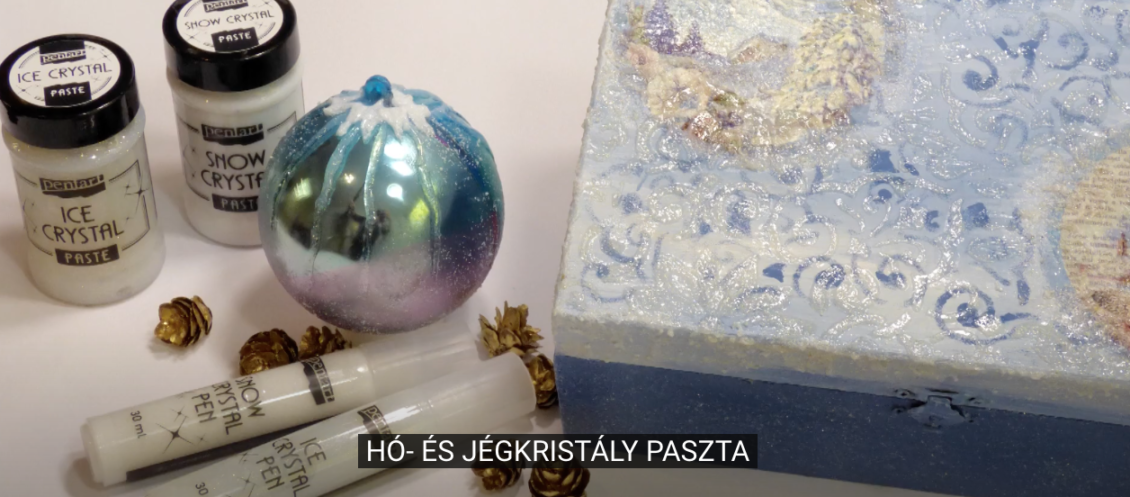
Winter effect mediums:
Our new Winter effect mediums can be varied very well with each other for an icy + snowy effect on any christmassy décor such as baubles, Christmas cards, Christmas trays, glass surfaces, or tableware. Apart form wintery effects, they also look lovely and elegant on wedding accessories, such as wedding cards, or can also be added as extra glittery / shiny textures on any decoupaged surface.
Decoupage for Beginners
All the basics there is to know about the art of Decoupage including the technique, materials used, and many useful hints & tips. Let’s get started !
Rice paper – most popular material for Decoupage
What is Rice paper?
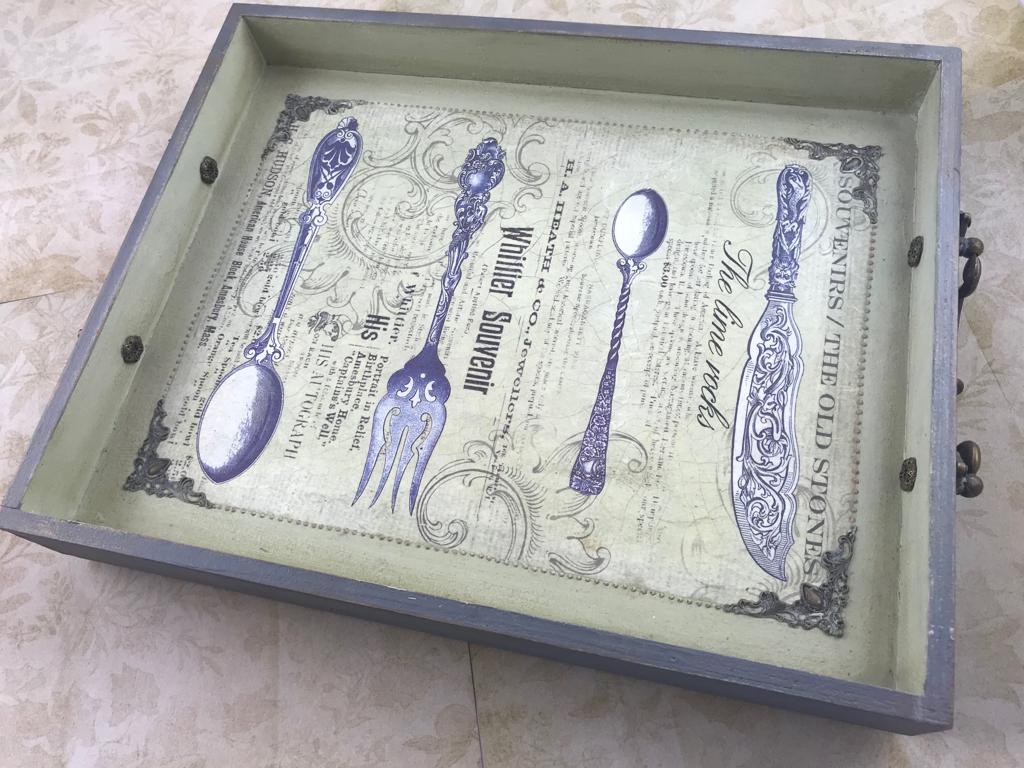
Rice paper, or sometimes referred to it as mulberry paper is – despite what it’s called – not actually made from rice or mulberry tree, but made of plant based starch and fibres, i.e. tree bark.
Rice papers may come in different sizes and thickness, just like all other paper napkins and decoupage papers. Most importantly however, it comes in countless designs and styles, with fantastic quality, and brilliant colours!
How is rice paper different from napkin papers and decoupage papers?
It is a perfect material to use for all sorts of crafts projects such as decoupage and journaling. Beginners and more advanced decoupage fans love using rice paper as it is very easy to stick to any surface, flat or textured and it will adapt easily to all sorts of surfaces with any glue used for decoupage.
Rice paper is softer and thinner than decoupaged paper, but stronger than napkin paper. It is very strong, durable, resistant and it does not disintegrate even though it can be quite thin.
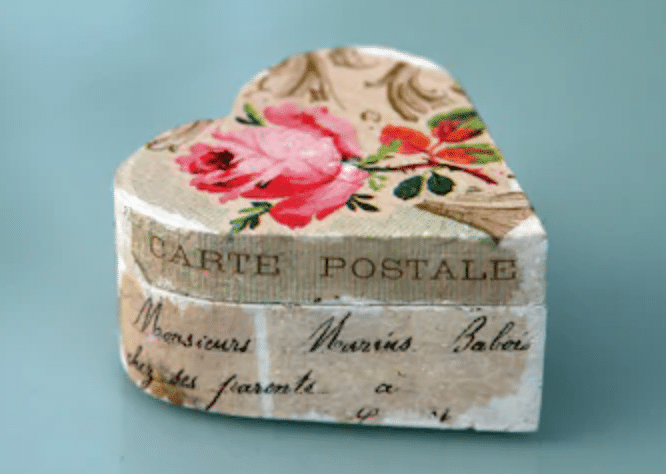
While paper napkins have multiple layers that need separating before working with them on a decoupage project, rice papers have only one layer, so this step can be skipped in this scenario.
Another difference is that a base layer is often needed when working with paper napkins, while in the case of rice paper a base layer is not necessarily as the colours transfer quite well. Napkins tend to be more see through, with less prominent coverage. It is however not to say, they cannot be used simultaneously on any given project. They can both be applied in similar ways, but they have slight differences in the way they behave and adapt to the same surface.
Rice papers also transfer to any surface without any creases or winkles compared to napkin papers, this – again – makes it slightly easier and more straightforward to work with.
Another nice feature of rice papers is that the plant fibres are often visible, giving it a lovely textured and natural feel and look.
How to work with rice papers?
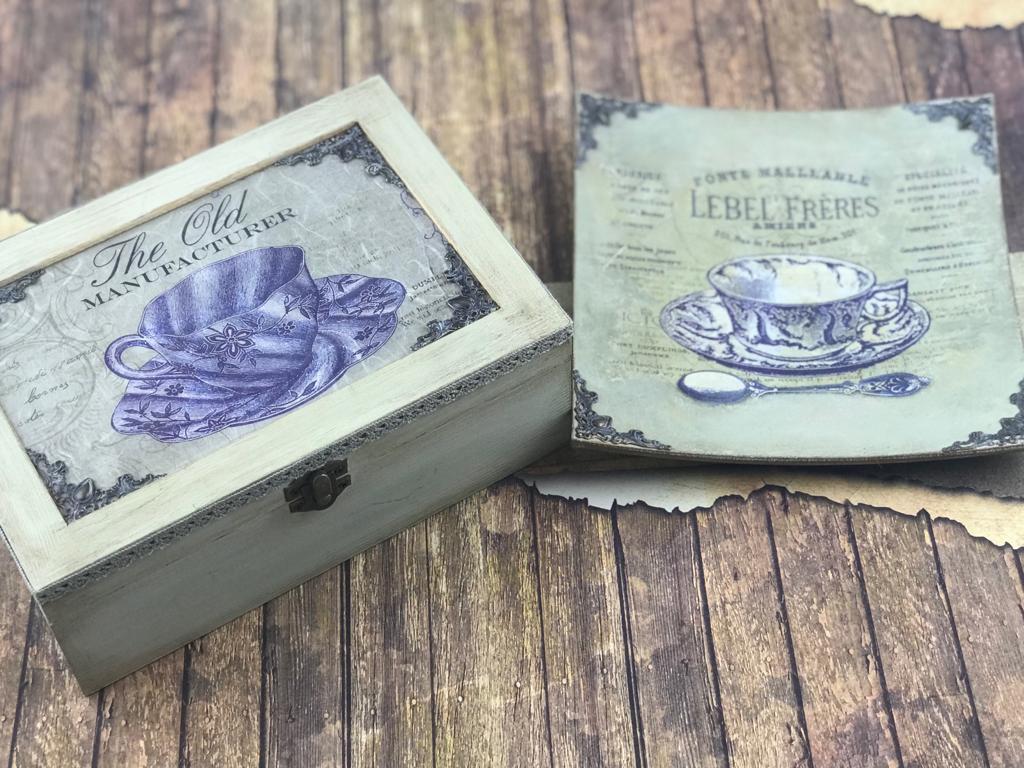
When is comes to applying rice paper to a decoupage subject, the edges of the image can be either torn or cut, depending on the image, or the effect we would like to achieve. When tearing it, the sharp edges will completely disappear, and the soft fibres are very easy to integrate invisibly into the project. Cutting however, will obviously keep the edges sharp, but that can also look nice if the image allows it so.
Apart from cutting the image out, or tearing it out, another great technique is to use a wet brush to slightly wet around the edges of the image, that will make it easier to tear it off more precisely, and giving it a softer, invisible edge again.
Rice paper therefore is truly one of the most popular materials both amongst beginner as well as more advanced craft fans, due to its simplicity, durability, and reliability.
Party napkins
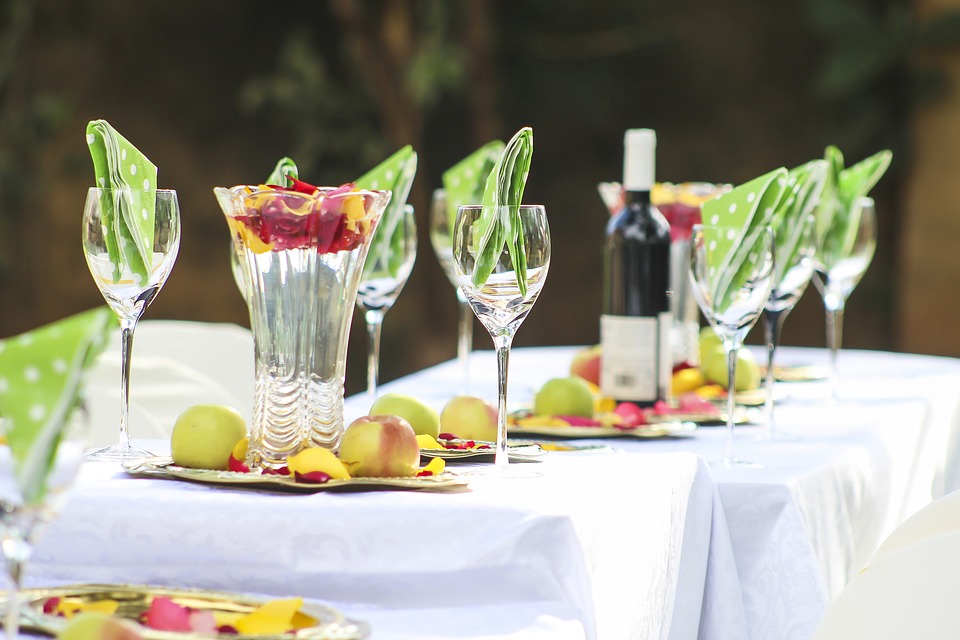
Shout out to all party organisers, and social butterflies ! The party season is here & the following section is a reminder that our constantly expanding range of portfolio also includes paper napkins for parties & special occasions!
Here, at the Napkinshop, we have built up a long history of providing a wide range of paper napkins, decoupage papers, and rice papers for the creative community, and decoupage fans for their artsy-craftsy purposes…
However, there are so many parties and special occasions, when one would simply want to use paper napkins for their most obviously intended one-off purposes.

With a tiny bit of creativity, and attention, Paper napkins can serve a crucial part of the table decor, and colour scheme, before the well fed, and happy mouths get wiped into them.
Organising a party or event, requires attention to details, and there are so many considerations to take into account. Having organised so many events ourselves, we understand, that paper napkins for parties should not only look great, so they elevate, and brighten the special occasion from a decorative perspective, but they should also be affordable, so it serves the purpose for their originally intended one-off use, well.
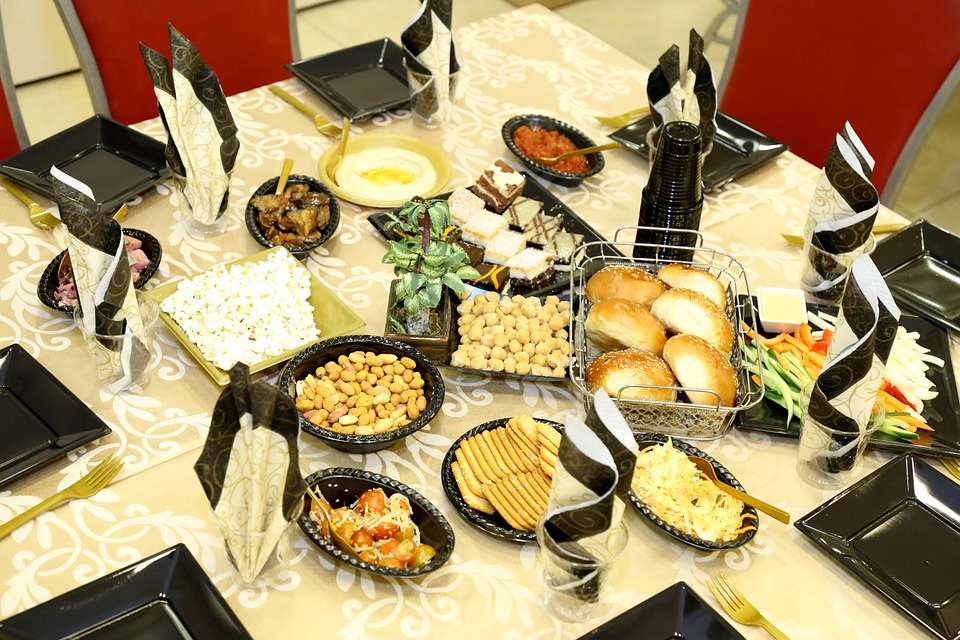
Paper napkins are such an essential part for any party – be it birthday, wedding, engagement, anniversary, Christening, Christmas, Easter, Halloween party, or Mothers day – and yet, they don’t have to be boring!
A well chosen theme, and colour scheme of quality serviettes can make such a great impact on the guests and set the mood for a fantastic event! So let’s get browsing, and see how you can add a little colour, love, and thought to your special event!
We have gathered our favourite party designs around the different themes, that we recommend for each type of party:
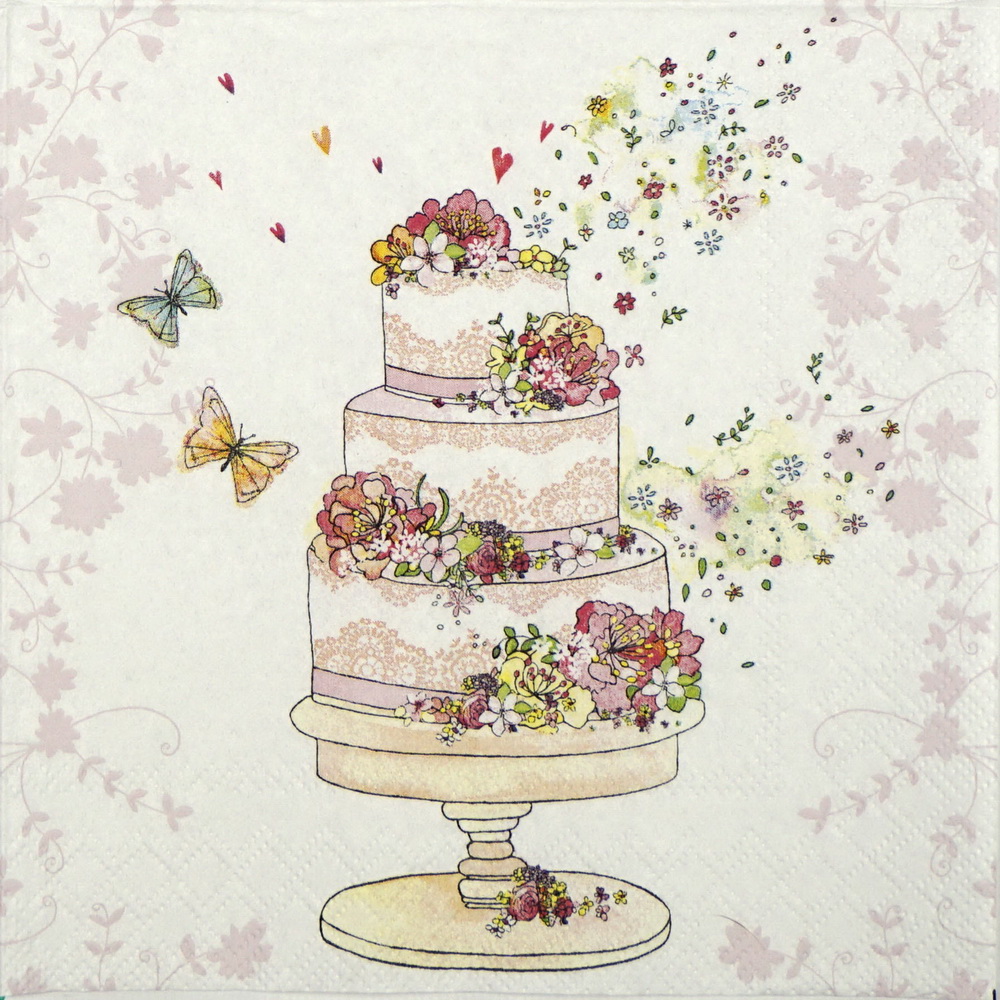
Wedding party napkins
Birthdays & Milestone Birthdays party napkins
Hen & Bachelor party / Bridal shower party napkins
Engagement party napkins
Anniversary party napkins
Baby Shower & New Baby & Baby Gender Reveal party napkins
Christening / Other religious occassions party napkins
Christmas party napkins
Easter party napkins
Mothers day party napkins
Valentines Day party napkins
What is the Mirror Mist?
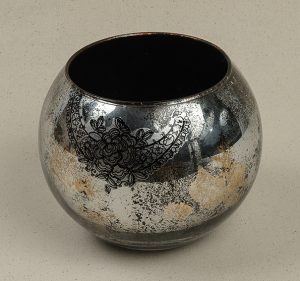
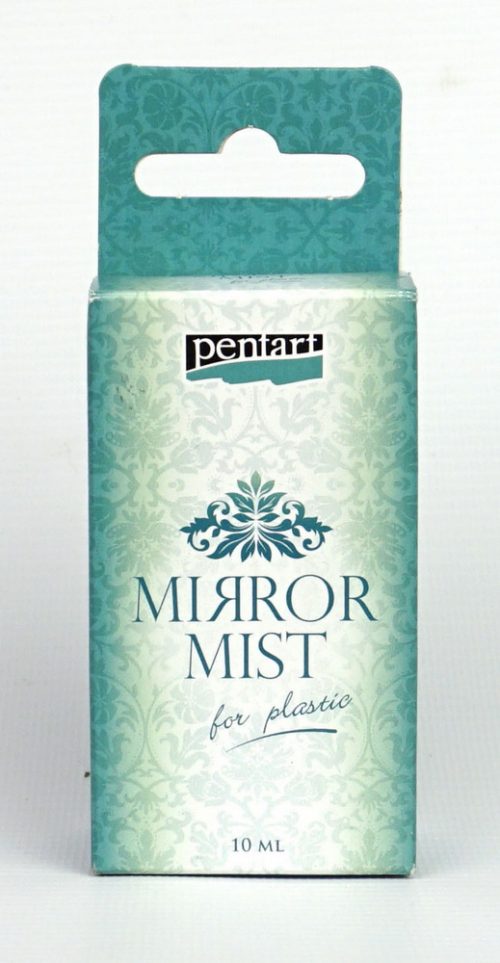
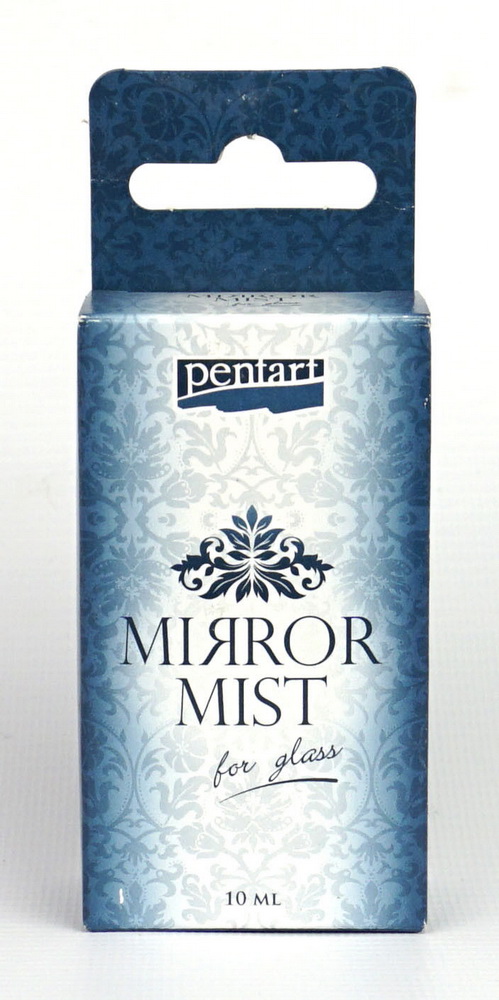
With the help of the mirror mist , we can create perfectly reflective surfaces – like a mirror – on any smooth, and transparent surfaces like a glass, or Clarity Acrylic Pieces of any shape – be it straight, flat, structured, or rounded like christmas tree ornaments.
There are two types of mirror mists, one of them is intended for glass, the other one is for plastic surfaces only. It is important not to mix the two types and use each of them on the appropriate and transparent surfaces.
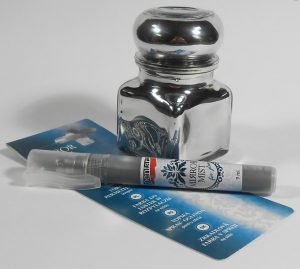
How to use the Mirror Mists?
Always shake up the container, with the paint thoroughly before each use.
As it is a mist, there will be a spray head included to be screwed tightly on top of the container.
Once the paint is prepared, the surface may also require few basic steps, such as cleaning the glass surface with alcohol, to remove any grease residue, or the removal of any protective plastic layers from the Clarity Acrylic pieces.
Spray several layers of the mirror mist on the relevant surfaces, these can be repeated after each layer is fully dried, so the coverage is thorough and dense enough. The drying process can be speeded up using a hair dryer, and we will see the paint becoming shinier and the reflections clearer as it dries.
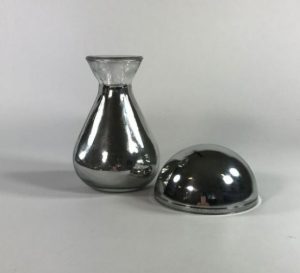
Once we have finished with the layering and the drying of the Mirror Mist, we can add one layer of black acrylic paint on top of the Mirror Mist layer – so the reflective effect is enhanced even more.
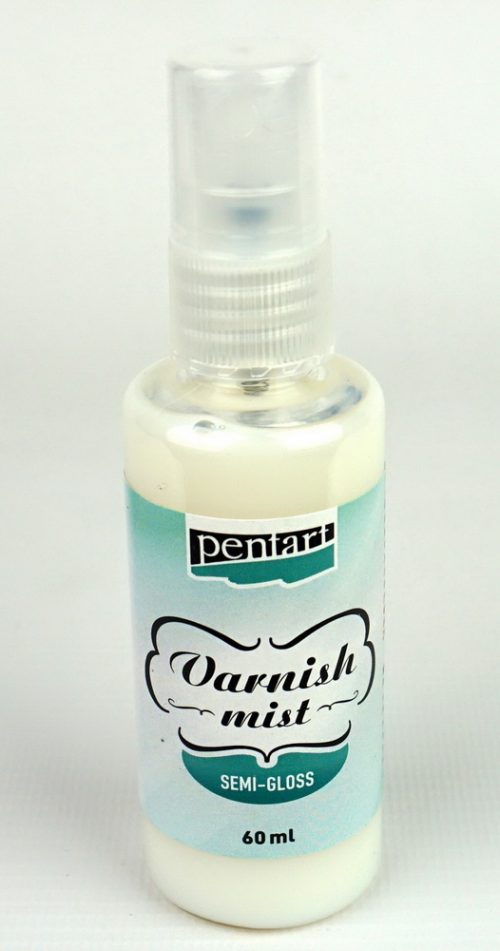
For a semi gloss effect, we can also apply a Semi Gloss Varnish Mist at the end.
The Mirror Mist can also be used with Stencil technique, to achieve the reflective surface showing only on certain patterns.
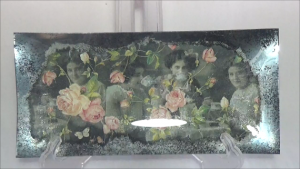
Alternatively, it can also be used with standard decoupage technique, if we are only applying the Mirror Mist as very thin, and partial coverage. Partial reflections will still shine through on the front side, once we have applied napkin tissue, or rice paper one the back of the item.
All in all, the Mirror Mist is a great material and technique to add variety, creativity and a new edge to our decoupage crafts! Take a look at the 3 products below, and a great little video below for some visual guidance, further ideas, and to demonstrate how to use the Mirror Mists !
What is a stencil?
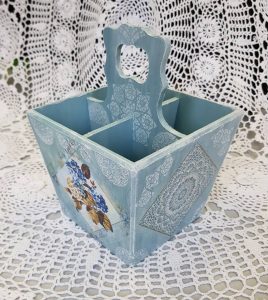
Stencil, or stencil plate is a sheet of waterproof material – most often plastic, but can also be paper, cardboard, rubber, metal, or wood – of which, certain patterns or designs are cut out from.
Once the sheet is laid flat on the surface of the item we wish to decorate, using acrylic paint, paint spray, or different pastes, to pain over. The colour or paste will pass through the perforations, leaving the desired patterns behind, after carefully removing the stencil plate.
As stencils can me made from a number of different materials, they also vary in their thickness. From simple thin, paper based stencils using paint, creating flat surfaces, to thicker stencils using thicker pastes, that will create 3D effect patterns that stick out from the surface.
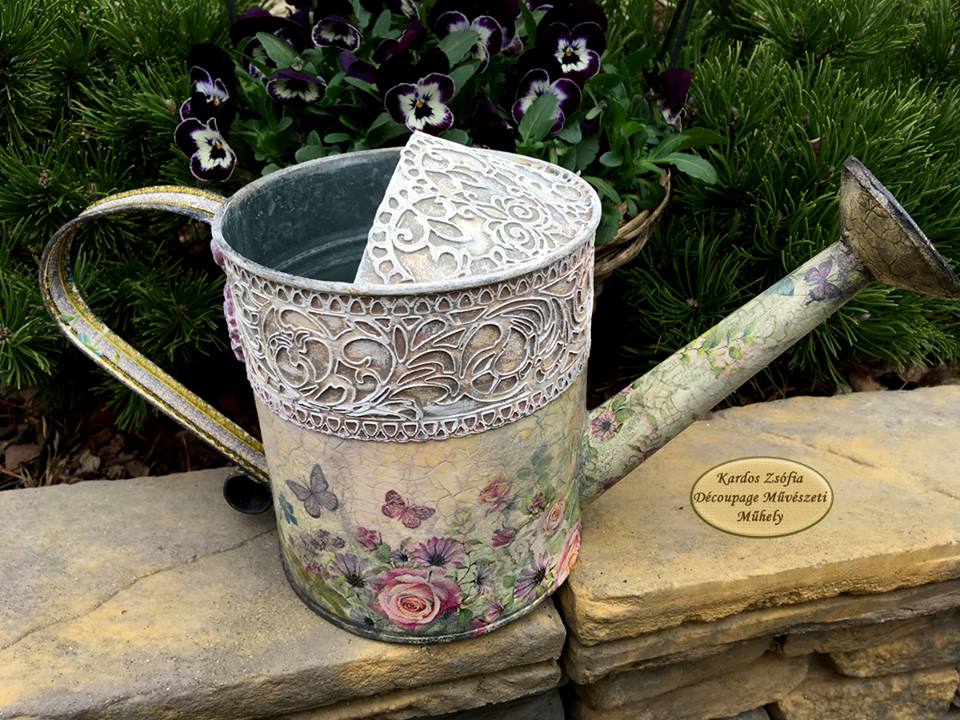
Apart from the actual material, and thickness of the stencil plate itself, it is also possible to transfer the designs on a variety of different materials, such as, wood, paper, metal, wall, and even textile. Here is a great example and wonderful design on textile.
A great advantage of stencils, is that the plates can be reused on the same surface to extend on the repeating patterns, for example as a lace pattern would repeat itself. It can of course also be reused endlessly from time to time on different craft projects, as long as the plates are kept clean after every use, and the patterns remain intact.
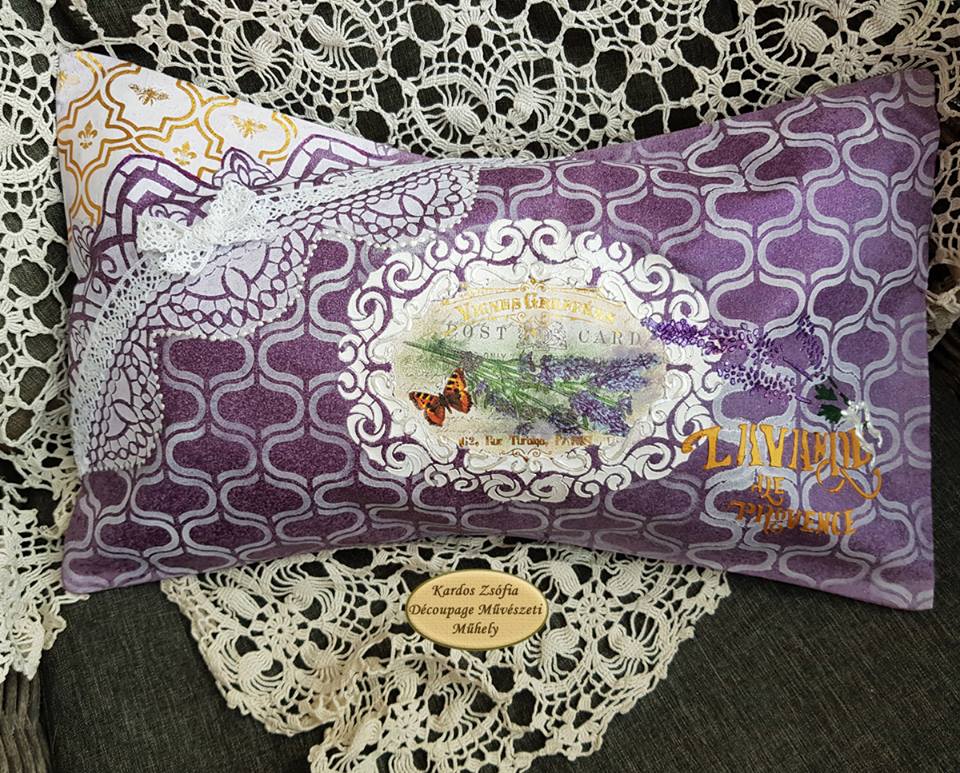
The number of pre-cut stencil patterns and designs available is simply staggering. Thus, are proud to have an impressive variety available here at NapkinShop to browse from, for those who like to use this technique, or are fairly new to. However, with plenty of time and patience, and quite a bit of handicraft, it is also possible to create own designs. Using some sort of resilient & fairly transparent sheet, the desired design can be drawn over, and the accurately cut out with a sharp blade.
Here is a Youtube video, demonstrating the stencil technique, whilst up-cycling an old kitchen furniture. (Try adding on subtitles under the cog icon, in the bottom right-hand corner of the video)
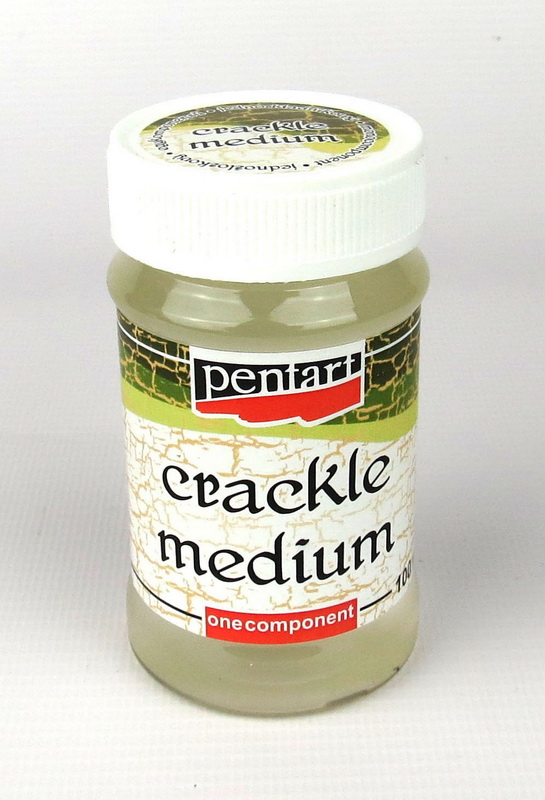
The Crackle Medium
In this article, we will show you how to use this fantastic product from Pentart, what effects you can achieve, and other tricks and creative ideas to bring the most out of the technique.
With the crackle medium, we can achieve old & fantastic aged effects, of crackled paint on old objects & paintings, and the look as if the paint is about to peel away from the object.
In order to be able to start playing with the colours and different effects, first we need to understand how this works. The Crackle Medium is basically applied between two different colours of acrylic paint layers. We will need a base layer & this will be the colour of the crackles. Once the base layer has dried, we can apply the crackle medium. When the Crackle medium has also dried, we can then apply our top layer of a different colour. You will notice, as the top layer is drying, it activates the crackle medium. The cracks will start to create during the final drying stage & become more and more defined on the surface, showing the bottom layer’s colour, in the cracks.
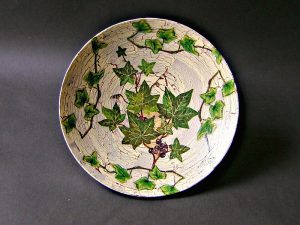
The patterns of the cracks will depends on two factors; first, the thickness of each layer (the thicker the layers are, the larger the cracks will become), and second, the method used, to apply the paint layers. This can be either classic straight brush strokes, to create more organised, “parallel” cracks. Alternatively, sponge brush can also be used for applying the top layer, and that will create effect of more “messy” cracks.
It is important to note, the top layer should not be Metal, Pearl, or Chameleon effect paints, as these paints do not produce any spectacular cracks. Another key point to consider is also, when applying decoupage on top of the cracked surface, the top layes should always be of lighter tones (white, cream, beige, pastel colours, etc). This, in fact, is a general rule in decoupage, that due to the thin, and almost see-through nature of the napkin layers that we apply to any surface, the images only show clearly on lighter tone backgrounds. Dark-toned backgrounds, simply do not work well with decoupage, as they absorb the colours of a fine layer of papernapkin.
When decoupaging glass product with the crackled medium, the order of the layers do change however! The decopage image needs to go on first, once that’s dry, the Crackle medium can be applied. When the crackle medium is also dry, the top layer needs to be applied next, which will start the crackling effect as soon as these start drying. The final layer should be the bottom layer in this case, for the colour of the cracks. Take a look some beauiful and creative solutions in the videos below:
